
MovieFlo.AI Guide
Editing Images
Overview
This section covers various changes or edits you can make to an image. You can edit images for Actors, Locations, Shots and any image you generate in MovieFlo.
Image Editor
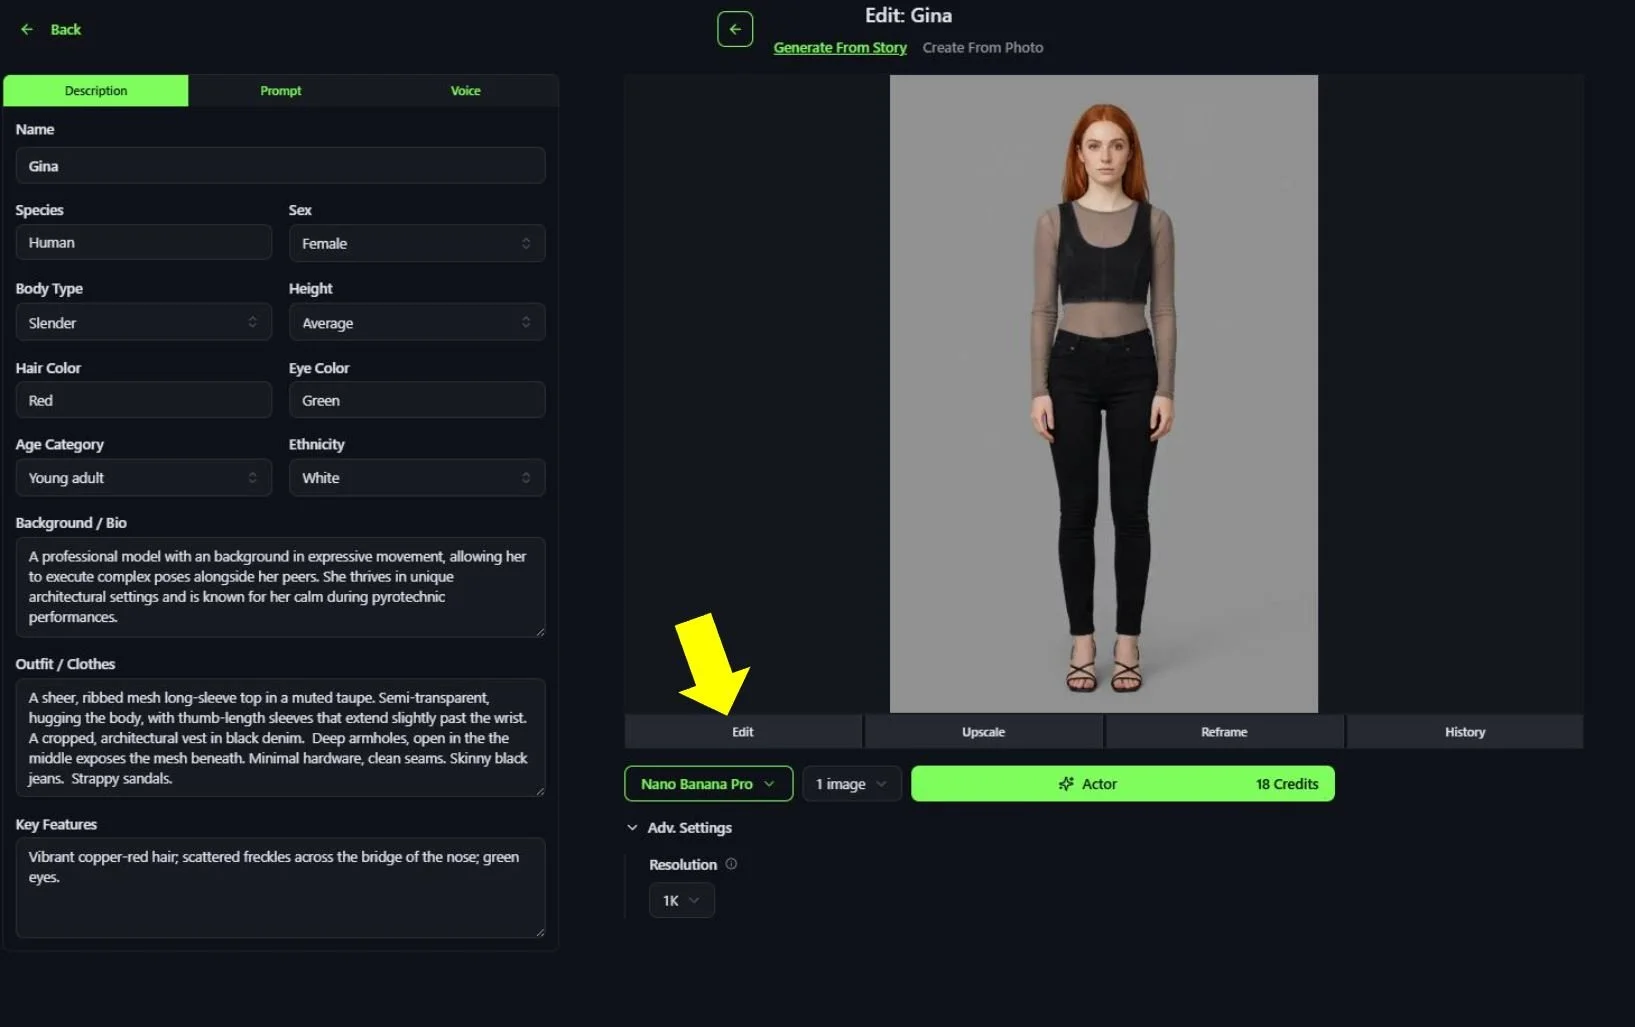
To make edits to an Actor or Shot Image, click on the Edit button under the image. This will open a menu that will let you generate a similar image with a change to it, such as changing the Actor’s hair color or clothing.
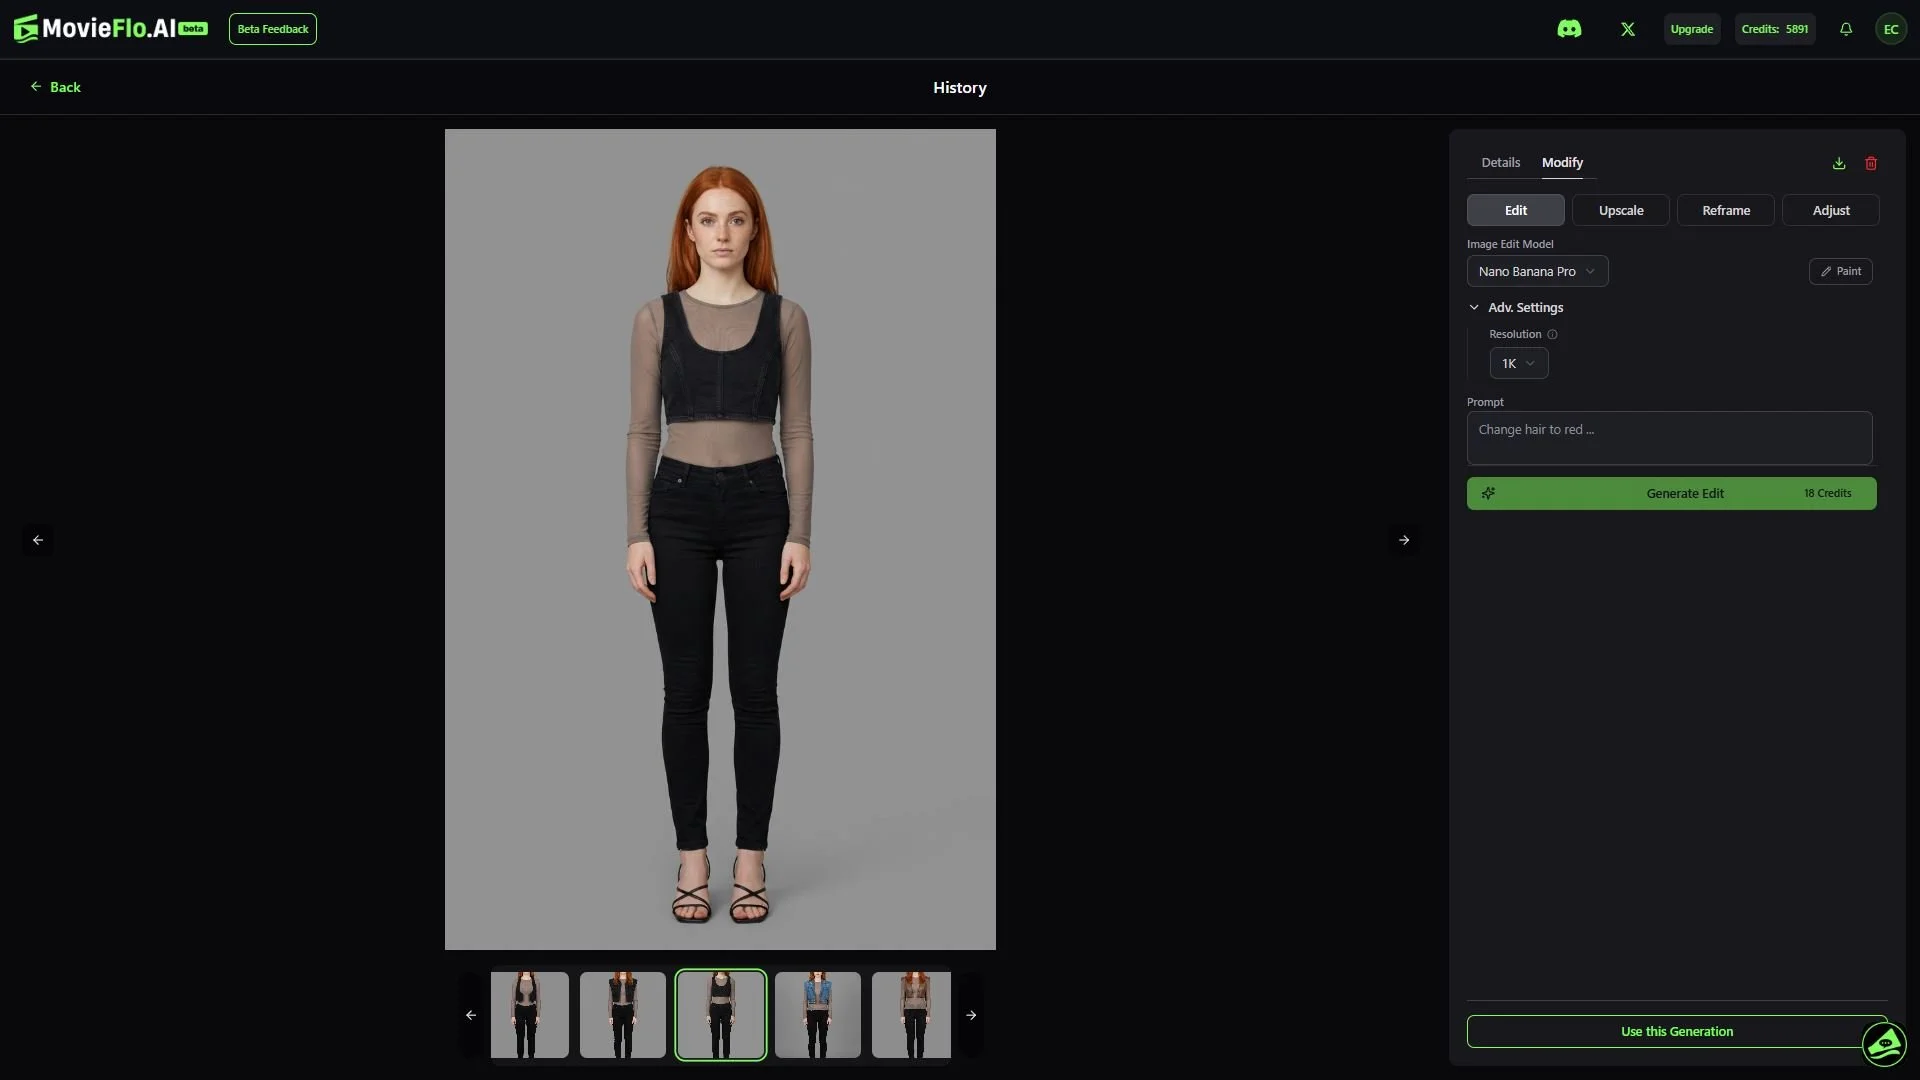
Image Edit Model: Clicking on this button will open a list of image edit models you can use to generate an edited image. Based on the image model you used to generate the original image, the corresponding image edit model will be pre-selected, if one exists. For example, if you used Nano Banana to generate the original image, Nano Banana will be pre-selected as the image edit model.
Adv. Settings: Some image edit models have advanced settings available to use, such as choosing an output resolution for the image being generated, creating a seed number, etc.
Paint: Image Editing models understand “annotations” in the form of drawing on an image, and text. MovieFlo supports both in-painting and text placement to tap directly into some of the hidden powers of these models. To use the Paint tool, click on the Paint button to open the Paint Toolbar. The Paint Toolbar lets you select an area of an image with a pencil or an eraser, and then use the Prompt to add, remove, or change content within that specific spot. For example, circling a spot on a wall in a room and adding text into the prompt that reads, “add a window”, will add a window to a room. You can also Include the original image as a reference by clicking on the button to the left of that text in the Edit UI. Generate a new image by clicking the Generate Edit button.
Prompt: Describe the edit you want to make to the original image here. For example, if you want to change the hair color of an Actor so that they will have red hair, type, “Change hair color to red” into the Prompt field.
Generate Edit: When you are ready to generate an edited image based on the changes made with Paint and/or the text entered into the Prompt, click on the Generate Edit button. This button will also show the credit cost to generate.
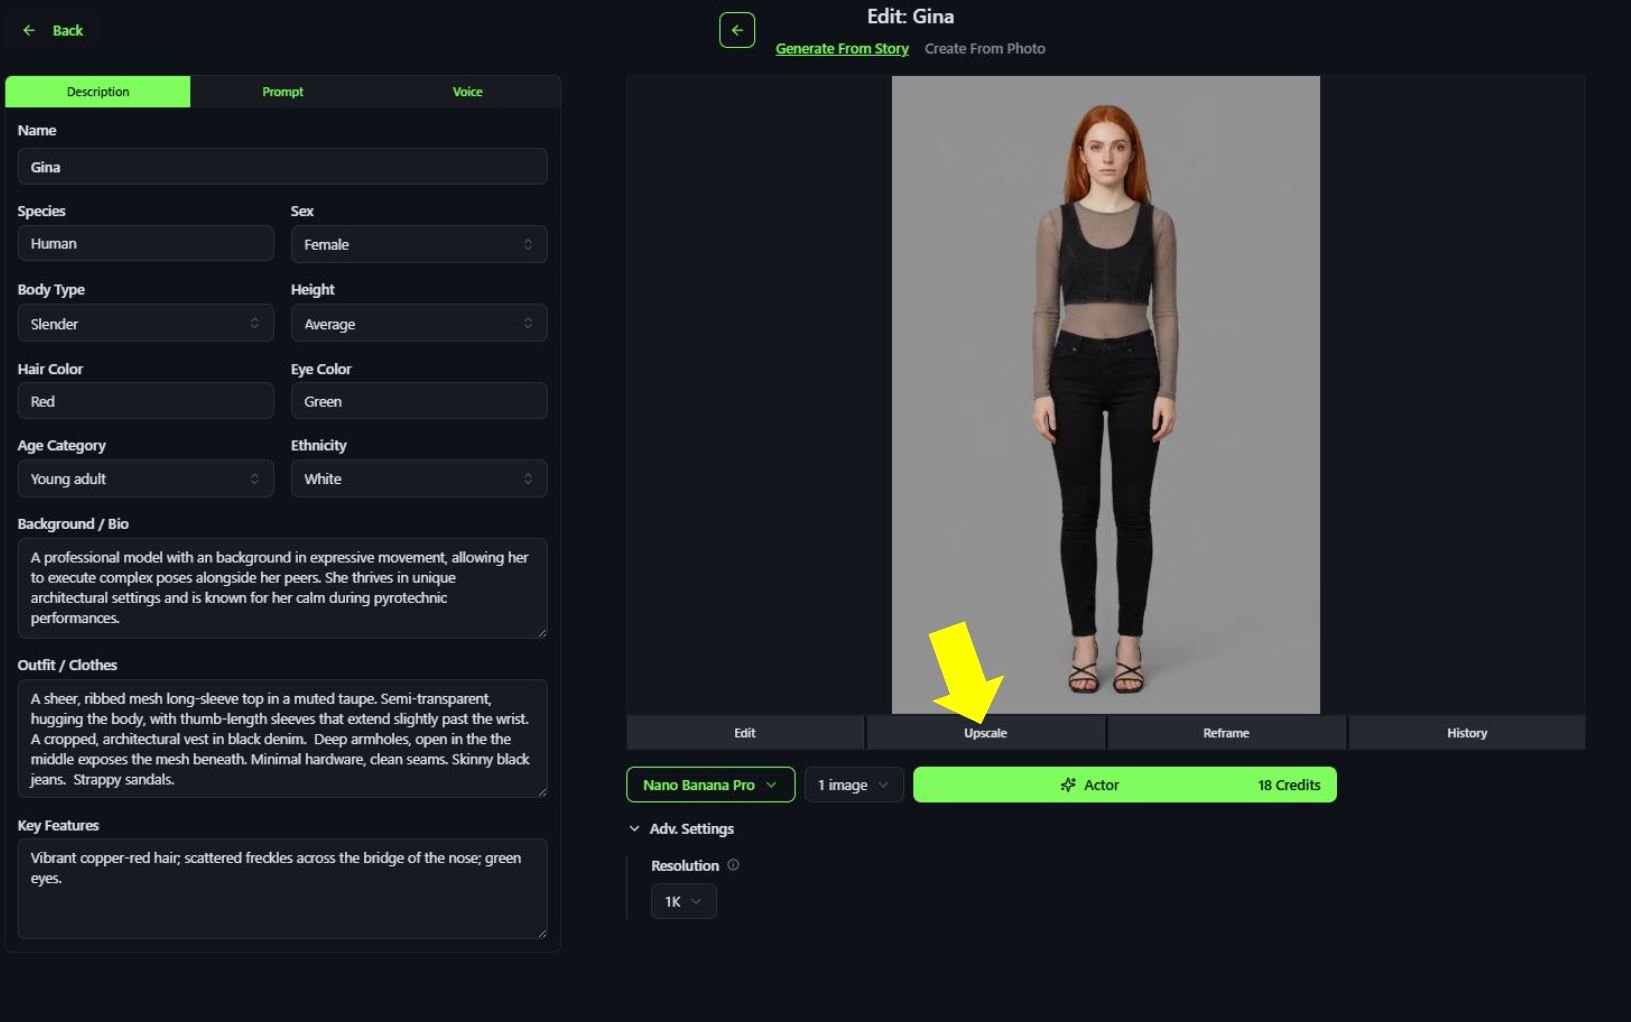
Upscaling Images
To upscale an image, click on the Upscale button under the image. This will open a menu that will allow you to upscale the image and make other changes to it.
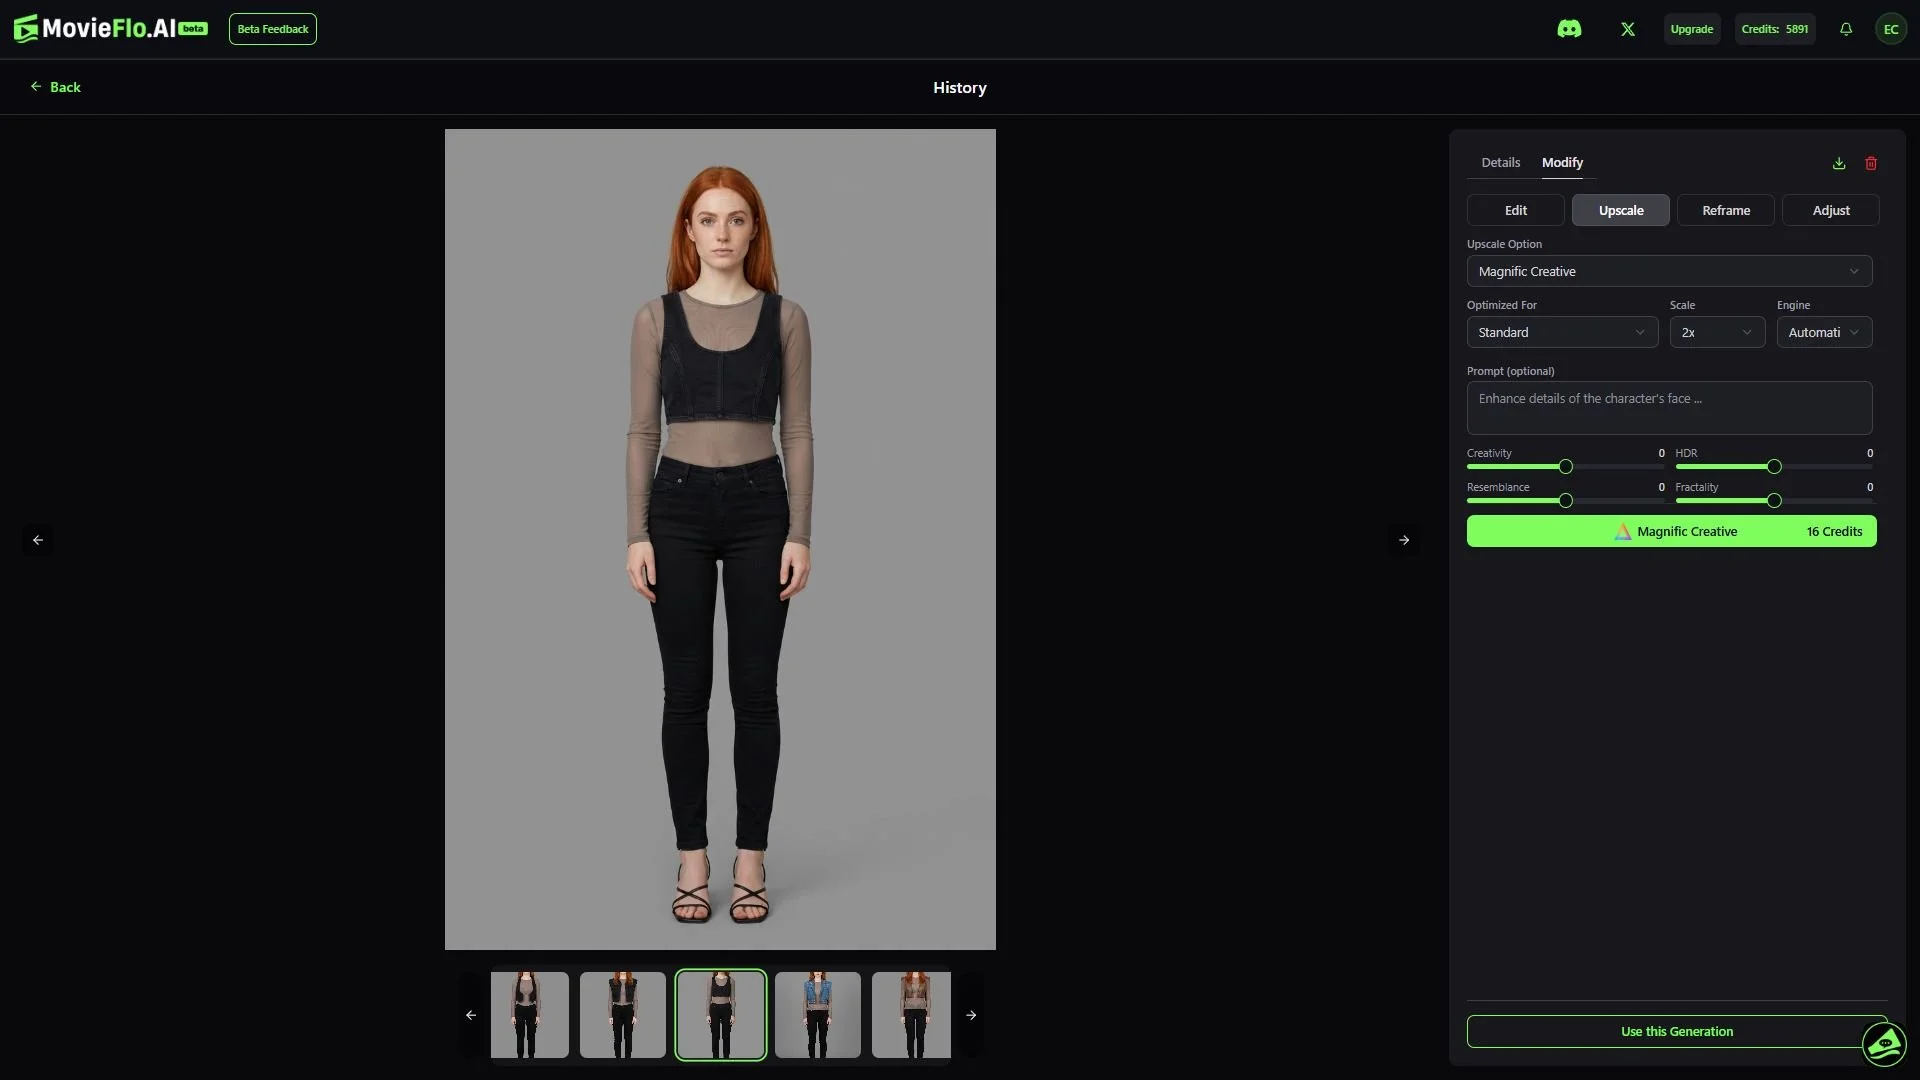
Upscale Option: Clicking on this button will let you choose the tool you want to use to upscale the image. We currently have a few different tools to choose from, each with their own set of features.
Magnific Creative
Optimized For: Provides an optimal starting point for upscaling, ensuring that the inherent characteristics of different types of images (e.g. skin texture in portraits vs. geometric accuracy in 3D renders) are enhanced appropriately. Click on this to open a dropdown list showing the list of options.
Scale: Click on this to choose the size of the image you want to generate. You can choose from 2x to 16x the size of the original image.
Engine: Choose from a list of specialized AI models, each tailored to a specific style of image upscaling and enhancement. Users can choose the engine that best fits their image type and desired outcome. The available options include:
Automatic: A general-purpose, well-balanced choice for users who are unsure which engine to pick. Magnific analyzes the image and selects the most appropriate engine automatically.
Illusio: Optimized for creative illustrations, digital art, and smoother, more stylized outputs. It's designed to handle the unique characteristics of non-photorealistic images effectively.
Sharpy: Perfect for crisp, realistic photos, focusing on maximizing sharpness and detail retention in photorealistic images without making them look artificial.
Sparkle: Offers a balanced mix of sharpness, detail refinement, and texture preservation for general-purpose use, effectively reducing artifacts while maintaining a natural tone.
Prompt (optional): You can type into this field to enter any details you want to include in the upscale image. For example, if you want to enhance the details of an actor’s face, type “Enhance details of the character’s face”, into the prompt field.
Creativity: This slider determines the extent to which the AI is allowed to generate new, imaginative details and textures during the upscaling process. It essentially acts as a dial for artistic license, moving beyond simple pixel enlargement to a full image reinterpretation.
HDR: This slider is used to adjust the visual appearance of the output image.
Resemblance: This slider controls how closely the upscaled image stays faithful to the original image. Higher values of the Resemblance slider force the AI to stick very close to the original image's appearance, structure and details, minimizing major changes. Lower values give the AI more freedom to alter the image, potentially leading to more creative, reimagined, or stylized results.
Fractality: This is an advanced slider that controls the density of fine, repeating micro-textures and the intricacy with which the text prompt is applied per square pixel. Higher Fractality values amplify the text prompt in increasingly smaller areas of the image, allowing for highly complex, nested details to emerge. For example, if upscaling an image of a rose with the prompt "A photograph of a rose," a high fractality value might generate tiny, rose-like details within the main rose, leading to an intricate, sometimes abstract, result. Lower Fractality values result in less detail and a cleaner, less "busy" image. This can be useful for achieving a smoother, less glitch-prone upscale and is recommended if unwanted visual artifacts or vertical bands appear in the image.
Magnific Precision
Sharpen: This slider allows you to adjust the intensity of image clarity and edge definition.
Smart Grain: This slider is used to add realistic, fine-grained texture to an image. Higher values add more prominent grain and texture to an image.
Ultra Detail: This slider controls how much fine, intricate detail is added to an image. It is designed to provide a super-focused effect while maintaining absolute fidelity to the original image.
Topaz Upscale
Model: Clicking this button will show a list of models. Each model is a unique filter trained to handle various types of images and input problems (e.g., noise, blur, specific content like faces or text).
Upscale Factor: Use this slider to choose the size of the image you want to generate. You can choose from 1x (no change) to 4x the size of the original image.
Subject Detection: This automatically identifies and selects the primary subject of an image to apply targeted enhancements. Click on the Subject Detection button to select one of the following choices; All, Foreground, Background.
Crop to Fill: This is a cropping feature that automatically resizes and crops the image to match a specific output aspect ratio, typically the full screen, by removing portions of the original media. Click the button to turn this feature On or Off.
Face Enhancement: Setting this option to "On" will reconstruct and enhance facial details in photos, restoring lost textures in eyes, skin, and hair, and fixing blurry or low-resolution faces.
Face Creativity: This slider controls how much the AI is allowed to re-imagine and generate new artistic details and textures in the image, rather than strictly preserving the original image. Higher values allow the AI to be more creative.
Face Strength: This slider controls the intensity of facial detail enhancement, allowing you to balance sharp, clear faces with the natural look of the rest of the image. Higher values create a stronger, smoother effect, while lower values provide a subtle touch-up, preventing faces from looking overly sharp or artificial.
Generating an Upscaled Image: When you are ready to generate an upscaled image, click on the green Generate button. This button will also show the credit cost to generate.
Reframing Images
Reframe can help you adjust the Aspect Ratio of an image. To reframe an image, click on the Reframe button under the image. This will open a menu that will allow you to reframe the image to your liking.
Reframe Option: Clicking on this button will let you choose the model you want to use to upscale the image.
Aspect Ratio: Clicking on this button will show a list of different aspect ratios. Choose the aspect ratio you want to use to reframe the image.
Prompt (optional): You can type into this field to enter any details you want to focus on to reframe the image. For example, to add focus to a character’s hands, type, “Reframe to focus on the character’s hands” into the prompt field.
Grid Position: This lets you precisely position your source media on the canvas to guide the AI in expanding or changing the aspect ratio, controlling where your original content sits within the new frame, whether it's horizontally (X-axis) or vertically (Y-axis), to ensure key elements are placed correctly or to reveal more background, all while the AI fills the added space based on your prompt.
Generate Reframe: When you are ready to generate a reframed image, click on the green Reframe button. This button will also show the credit cost to generate.
Adjust Images
This tool allows you to manually zoom in and crop your images. You can use this in tandem with Upscale to maintain fidelity. This is how you can get close-ups of your characters to work side-by-side with your full-body images. Here are the steps for making character close-ups:
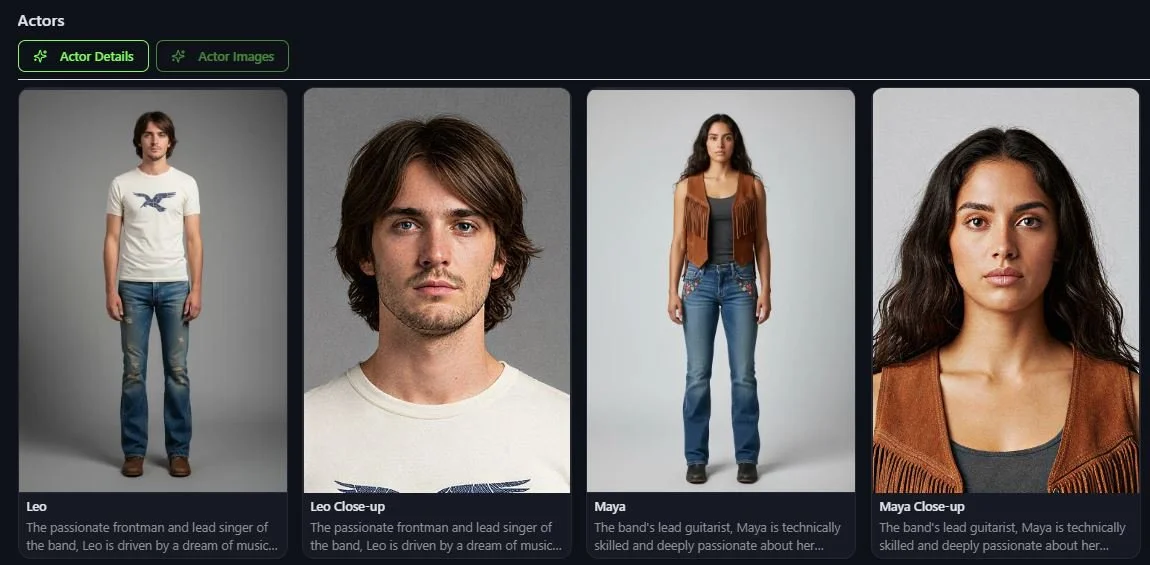
Duplicate your Actor. This preserves the full body view as a separate entity. MovieFlo uses both or either version depending on the shot needs.
Rename the Actor to something like “Name Close-up”
Click on Edit
Click on Adjust
Use the slider to zoom in close on your character’s face
Click Use Crop
Click Upscale (See Upscale above)
Now you have a close-up of your actor
Image History
Once you’ve generated at least one image, you will see a History button appear under the image. Click on this button to enter the History menu. This allows you to look back through all images you have generated for a Shot or Actor. The history also contains the prompt that was used to make that generation and other details such as the resolution of the image.
Details: When you enter the History menu, you will see information about the image.
Prompt: This shows the prompt that was used to generate the image.
Resolution: This shows the resolution of the image.
Images in this Generation: If multiple images were generated for the Actor or the Shot, thumbnails of those images will be displayed here. You can click on them to see them in the display window.
Image Model: This shows the image model that was used to generate the image.
Edit Details: If the image was created by editing an original image, Edit Details will be listed. This shows additional information about the image, specifically the Prompt used to generate the edited image and Image Edit Model that was used to generate the image.
Shot Navigation Arrows (only in storyboard): In the top center of the History menu, you will see the scene number and shot number associated with the image. To the left and right are the navigation arrows. Clicking on these allows you to cycle through all of the shots in your Storyboard.
Image Thumbnails: In the bottom section of the menu, you will see thumbnail images for all the images you have generated for this Actor or Shot. Click on the thumbnail to display the image in the image window.
Download Image: In the top right corner of the menu, you will see a small green icon with an arrow pointing downwards. Clicking this button will download the image to your computer.
Delete Image: When you have multiple images in History, you will see a red trashcan icon in the top right corner of the menu. Clicking this button will delete the image from your project. Once deleted, the image is gone for good so please use it with caution.
Use this Generation: Clicking on this button will select the image you are currently using for your Actor or Shot.