
MovieFlo.AI Guide
Step 1 - Creating a Scene
To get started, click on the Scene Composer button on the Explore page or on the Scene Composer link on the left side of the screen.
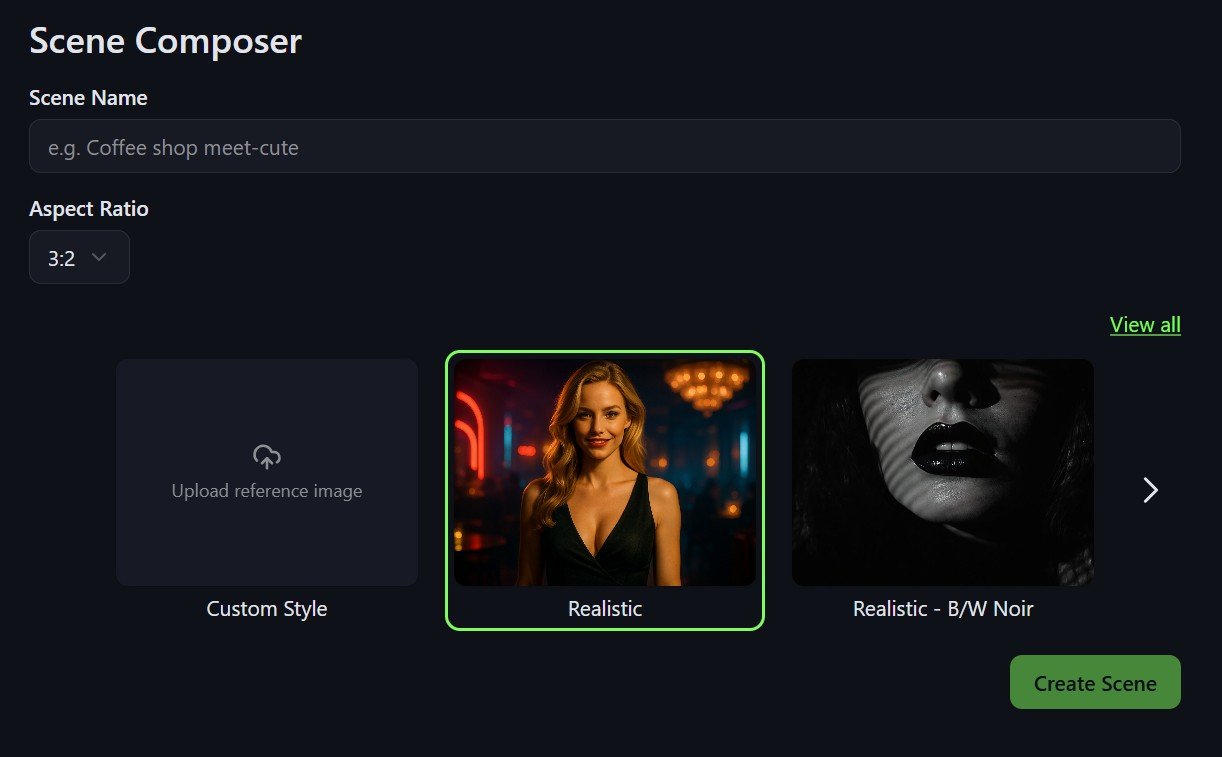
Choose a name for the scene you want to create.
Choose an Aspect Ratio for the scene images and videos.
Select your preferred Art Style.
When you are finished, click on the Create Scene button.
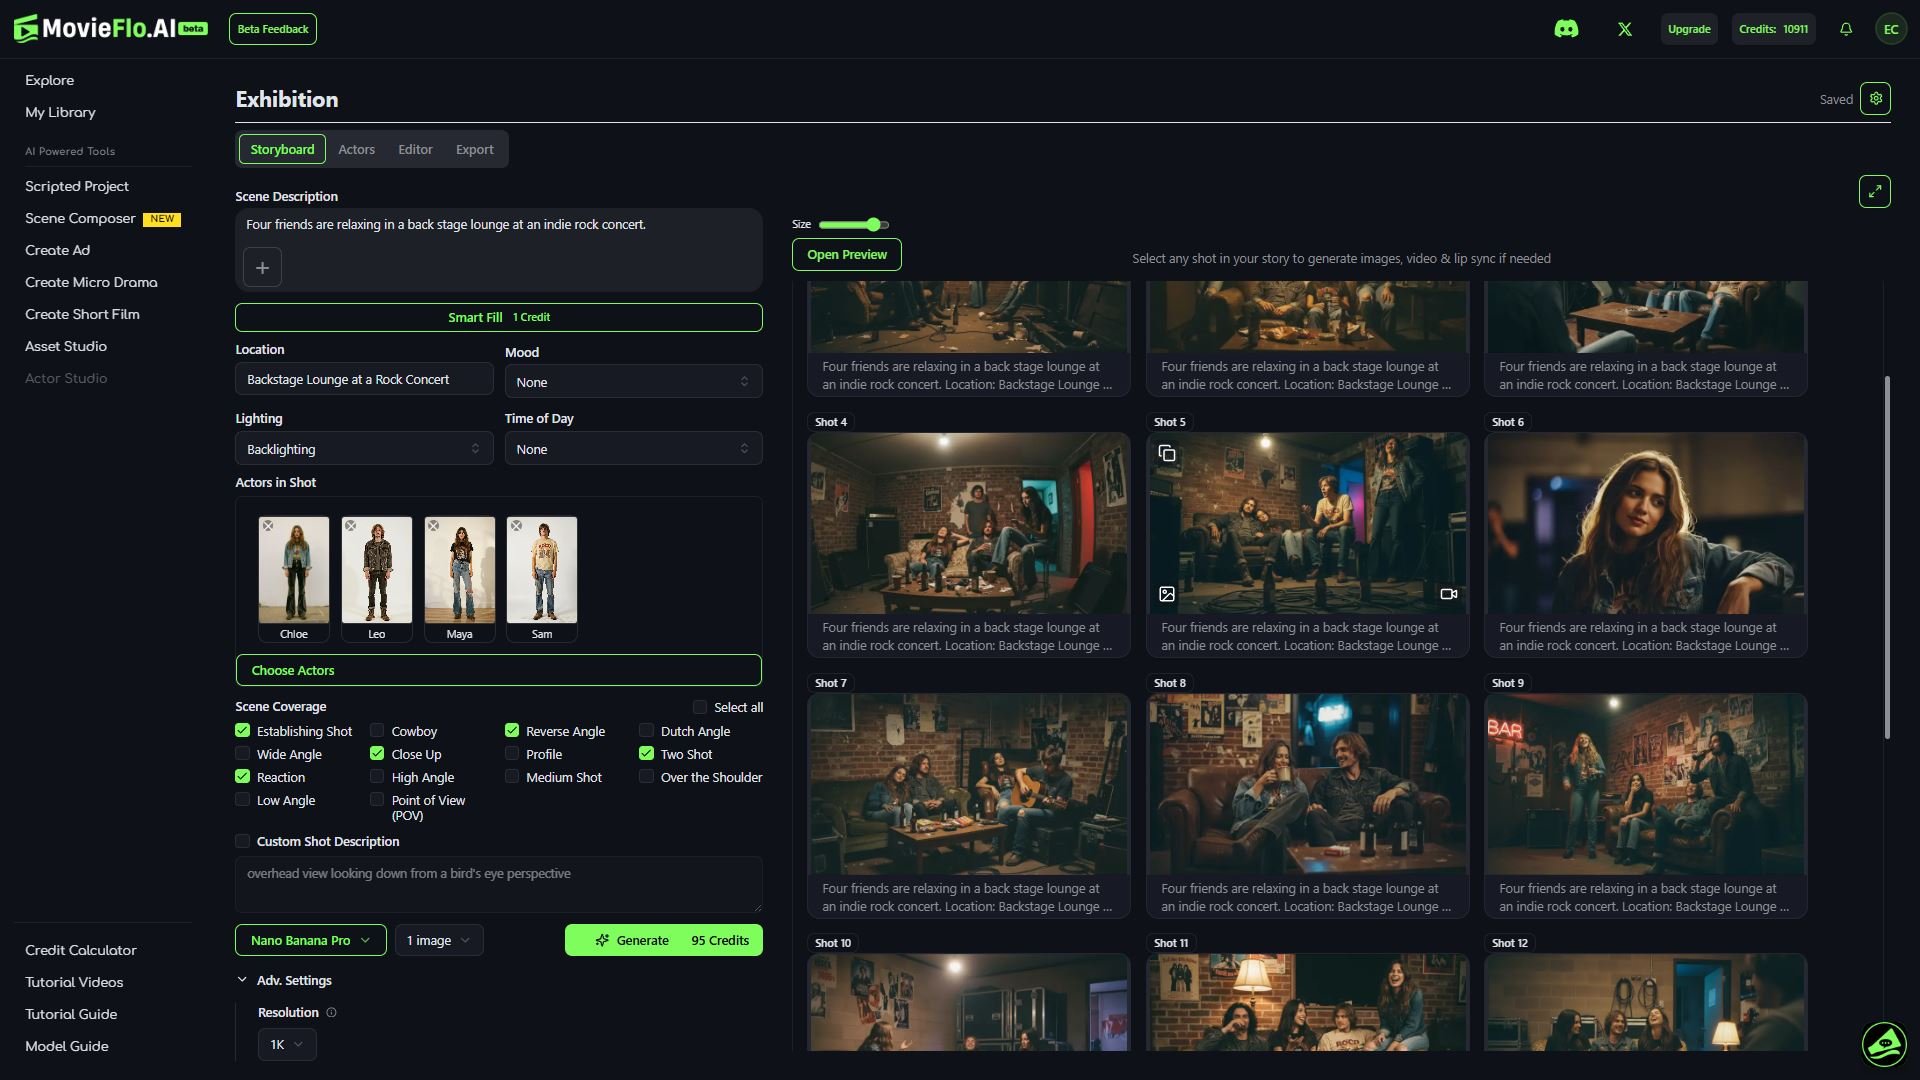
Step 2 - Scene Description and Coverage
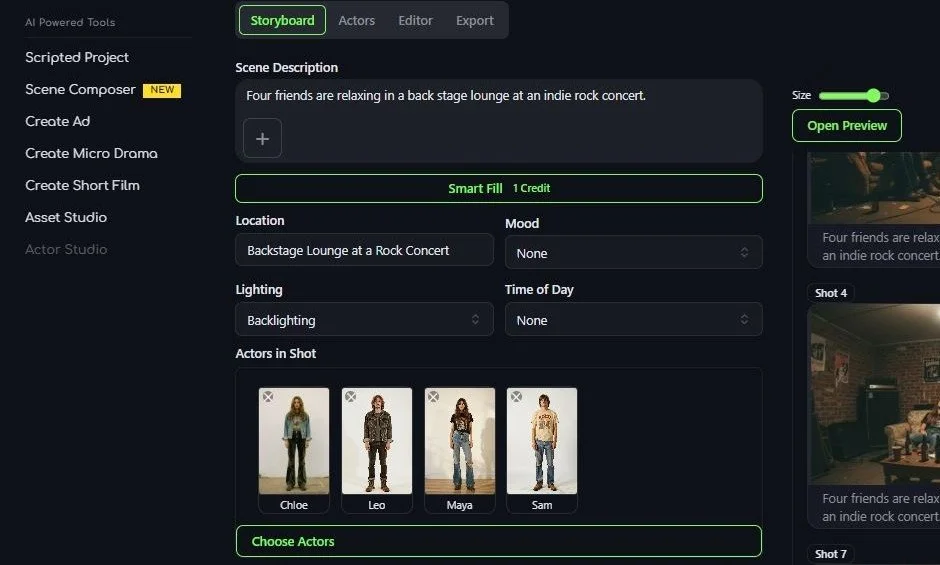
Describe the scene you want to create by entering text into the Scene Description field or add reference images by clicking on the Plus button.
Click “Smart Fill” and the AI will fill in the fields below based on your description or image. You can override or set these manually as well.
Select the Location, Mood (eg. Dramatic, Comedic), Lighting and Time of Day.
Click on the Choose Actors button to select any Actors you wish to add to the scene. The list of Actors you can choose from comes from Actors you have created in other projects in Movieflo.AI. You can also choose to create new Actors by clicking on the Actors tab.
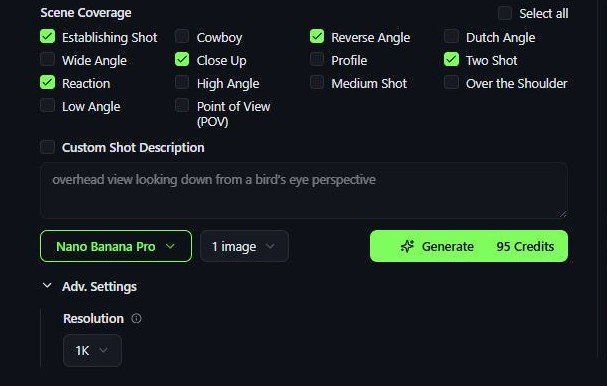
Under Scene Coverage, select the type of shot you want to generate. There are multiple types to choose from including Establishing Shot, Wide Shot, Profile Shot and many more. You can also choose to enter a Custom Shot Description to describe the image you want to generate for more control.
Select the image model you want to use and the number of images you want to generate. When you are ready, click on the green Generate button to generate images for a Scene.
If needed, you can add new scenes by clicking on the Add Scene button to create an additional scene. New images will always appear in the latest scene
Scene Composer
Overview
Scene Composer lets you generate scenes without using a script. Users create images and then videos and compose a scene using the same familiar tools such as Actors and Storyboard, Editor and Export. Scene Composer has “Scene Coverage” checkboxes which allow you to explore a scene/location from many different angles and shot types.